Are you trying to upload an image and seeing the failed to write file to disk error message on your screen? This specific error stops you from adding media, installing themes, or updating plugins, bringing your website work to a complete halt.
The good news is that this is usually a simple issue with file permissions or storage space, not a broken website.
🚀 Need this fixed instantly? If you are uncomfortable editing server files or using FTP, Click here to order our Quick Fix Service and we will resolve your upload issue within an hour!
In this guide, we will walk you through 3 proven methods to fix this error so you can get back to creating content.
Why the “Failed to Write File to Disk” Error Happens
Before we fix it, it helps to know why the failed to write file to disk error occurs. Generally, there are three main causes:
-
Incorrect File Permissions: Your web server does not have the “permission” to save new data to your uploads folder.
-
Full Disk Quota: Your hosting plan has run out of storage space.
-
Temporary Directory Issues: The server’s temporary folder is missing or full.
Method 1: Fix “Failed to Write File to Disk” via Permissions
The most common solution for this upload problem is correcting your folder permissions. Security plugins or server migrations can sometimes reset these permissions.
You will need an FTP client like FileZilla to perform this step.
Step 1: Connect via FTP
Open FileZilla and connect to your website using the credentials provided by your host.
Step 2: Locate the Uploads Folder
Navigate to the public_html folder, then open the wp-content folder. You will see a folder named uploads.
Step 3: Change Directory Permissions
-
Right-click on the
uploadsfolder. -
Select File permissions…
-
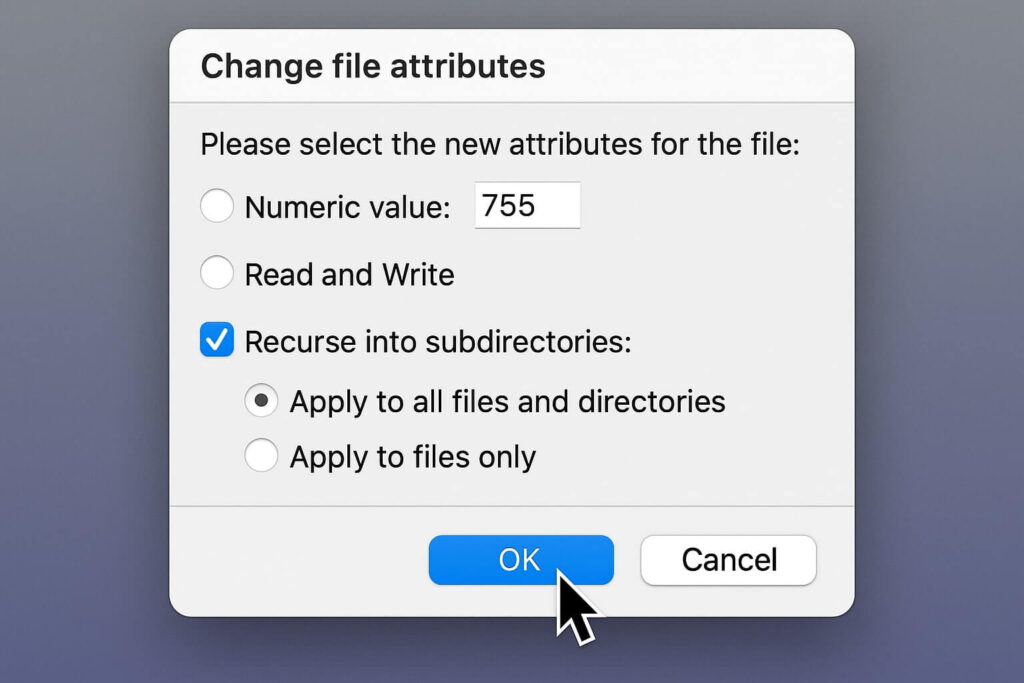
In the “Numeric value” field, enter 755.
-
Check the box Recurse into subdirectories.
-
Select Apply to directories only.
-
Click OK.
Step 4: Change File Permissions
To fully resolve the issue, you must also update the files inside that folder.
-
Right-click the
uploadsfolder again. -
Select File permissions…
-
In the “Numeric value” field, enter 644.
-
Check the box Recurse into subdirectories.
-
Crucial Step: Select Apply to files only.
-
Click OK.
Once FileZilla finishes, go back to your WordPress media library and try uploading an image.
Method 2: Check Quota for “Failed to Write File to Disk” Error
If permissions are correct but you still see the warning, your website might simply be full.
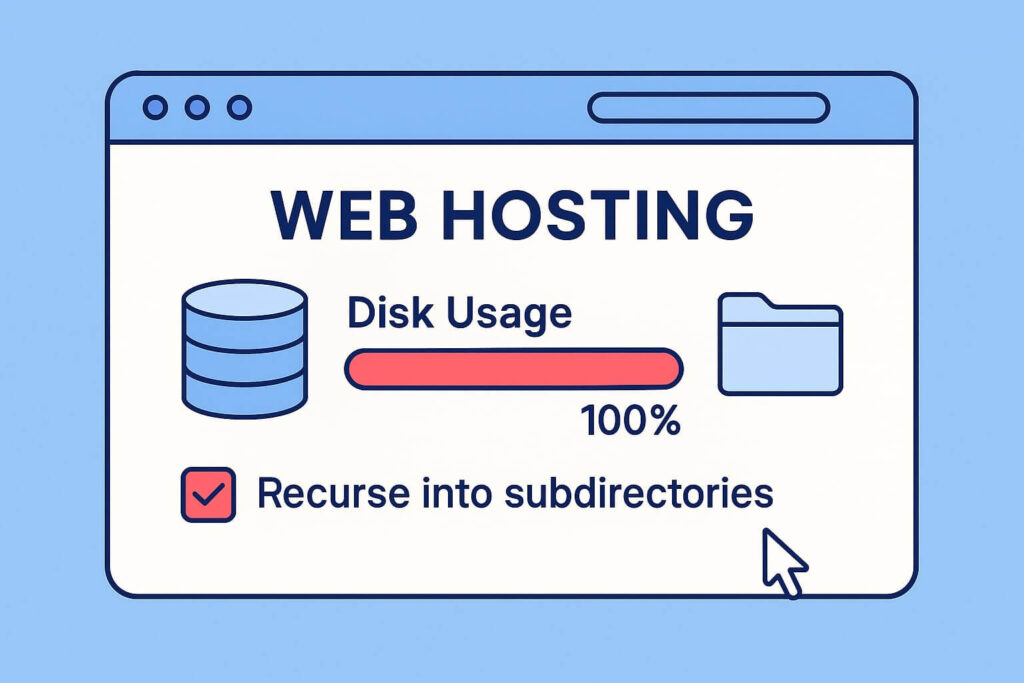
Many shared hosting plans (like Bluehost or GoDaddy) enforce a limit on disk usage.
How to check:
-
Log in to your hosting cPanel.
-
Look for a sidebar section labeled “Disk Usage” or “Statistics.”
-
If the bar is red or shows “100%,” your server is rejecting new files.
The Fix: Delete old backups or unused images. If you need all your files, you will need to upgrade your hosting plan to remove the storage limitation.
Method 3: Temp Folder Fix for Upload Errors
Sometimes the server’s temporary folder causes the failed to write file to disk error. You can force WordPress to use a different temporary location.
Warning: Please backup your site before editing code.
-
Connect to your site via FTP.
-
Find the
wp-config.phpfile in the root directory. -
Right-click and edit the file.
-
Paste the following code just above the line that says
/* That's all, stop editing! Happy publishing. */:
define( 'WP_TEMP_DIR', dirname(__FILE__) . '/wp-content/temp/' );
-
Save the file.
-
Go to the
wp-contentfolder via FTP. -
Create a new folder inside it named
temp. -
Right-click the
tempfolder and set permissions to 755.
Conclusion
The failed to write file to disk error is annoying, but usually easy to fix. By resetting your permissions to 755/644 or clearing your disk quota, you can restore your ability to upload media.
Still Facing Issues? If you tried all 3 methods and still see the error: 👉 Contact Us Here for a professional audit, or Order our Emergency Fix Service to let us handle the technical stress for you.