ncountering the 413 request entity too large WordPress error while trying to upload a file is a frustrating roadblock that stops your progress instantly. You might be trying to upload a new premium theme, a large plugin, or a high-quality video background when the screen suddenly goes blank or displays this stark technical warning.
Unlike a standard “404” error, this message sounds intimidating. It implies that you have “broken” a request entity, which sounds like a complex server-side failure.
The good news is that this is actually one of the most common issues site owners face. It doesn’t mean your site is broken; it simply means you are trying to push a file through a digital door that is slightly too small for it.
🚀 Need this fixed instantly? If you are uncomfortable editing server code files like
.htaccessornginx.conf, Click here to order our Quick Fix Service. We will resolve this upload error for you within an hour so you can get back to work!
In this comprehensive guide, we will dive deep into why this happens and provide 5 proven methods to fix the 413 request entity too large WordPress error permanently.
What Causes the 413 Request Entity Too Large WordPress Error?
To fix the problem effectively, you need to understand what is happening behind the scenes.
When you upload a file to WordPress, that file passes through your web server before it lands in your media library. Your web server (likely Apache or Nginx) has strict rules about how much data can be processed in a single “request.”
The error is your server’s way of saying: “Stop. This file exceeds the maximum allowed upload size.”
Common Triggers for This Error
You will likely trigger this specific warning in these situations:
-
Uploading Premium Themes: Modern themes like Avada or Divi often have zip files exceeding 20MB.
-
Large Plugins: Restoring a backup manually usually involves uploading a massive zip file.
-
High-Res Media: Uploading 4K videos or uncompressed images.
Most shared hosting providers set a default limit of 2MB to 8MB. If your file is 9MB, the server rejects it instantly.
Method 1: Theme Functions Fix for 413 Request Entity Too Large WordPress
If you are looking for the easiest, least risky way to solve this issue, start here. This method allows you to increase your upload limits using your WordPress theme’s functions file.
This is often easier than accessing server configuration files via FTP.
Step-by-Step Guide:
-
Log in to your WordPress Dashboard.
-
Navigate to Appearance > Theme File Editor.
-
On the right-hand sidebar, look for the file named Theme Functions (
functions.php). -
Click to open it.
-
Scroll to the very bottom of the file.
-
Copy and paste the following code snippet:
@ini_set( 'upload_max_filesize' , '64M' );
@ini_set( 'post_max_size', '64M');
@ini_set( 'max_execution_time', '300' );
Why this fixes the issue:
-
upload_max_filesize: Defines the max size of a single file. We set it to 64MB to cover most themes.
-
post_max_size: This must be equal to or larger than your upload size.
-
max_execution_time: Tells the server not to time out for 300 seconds (5 minutes).
Once saved, try your upload again. If the issue persists, your host might be blocking theme-level overrides. Proceed to Method 2.

Method 2: Edit .htaccess to Solve 413 Request Entity Too Large WordPress
This is the most reliable method for websites hosted on Apache servers (Bluehost, HostGator, SiteGround). The .htaccess file controls how your server behaves.
By editing this file, you can override strict defaults and banish the upload limit for good.
Step 1: Access Your Server
You will need to use an FTP client like FileZilla or your hosting File Manager.
Step 2: Locate the .htaccess File
Navigate to your public_html folder. Look for the .htaccess file. If you don’t see it, ensure “Show Hidden Files” is enabled.
Step 3: Add the Override Code
Right-click the file and select Edit. Scroll to the bottom and paste this code:
php_value upload_max_filesize 64M
php_value post_max_size 64M
php_value max_execution_time 300
php_value max_input_time 300
Step 4: Save and Test
Save the changes and retry the upload. If successful, you have fixed the problem. If you get a “500 Internal Server Error,” your host blocks this method—delete the code and try Method 3.
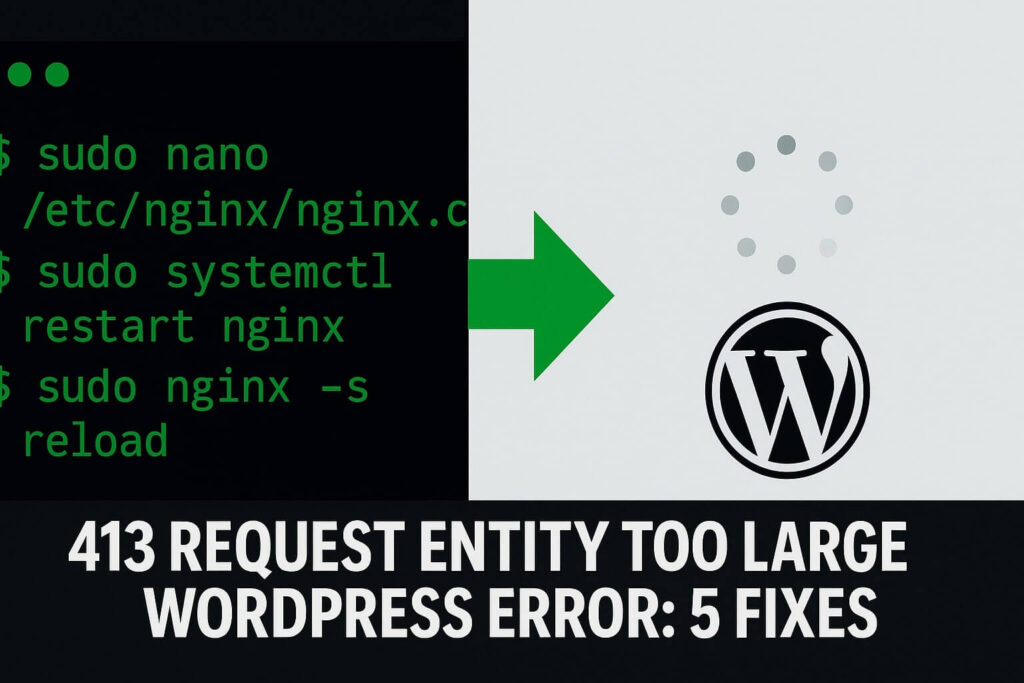
Method 3: Nginx Fix for 413 Request Entity Too Large WordPress
If you use a VPS or a host like Kinsta/Cloudways, you are likely on Nginx. Nginx handles requests differently.
It has a specific setting called client_max_body_size which is the #1 cause of this upload error on Nginx servers.
Note: You usually need root or SSH access for this.
Step 1: Locate nginx.conf
Connect via Terminal (SSH) or SFTP. Find the nginx.conf file, usually at /etc/nginx/nginx.conf.
Step 2: Edit the Configuration
Open the file and inside the http { or server { block, add:
client_max_body_size 64M;
Step 3: Restart Nginx
Restart the server (e.g., sudo service nginx reload). This is the definitive fix for Nginx users.
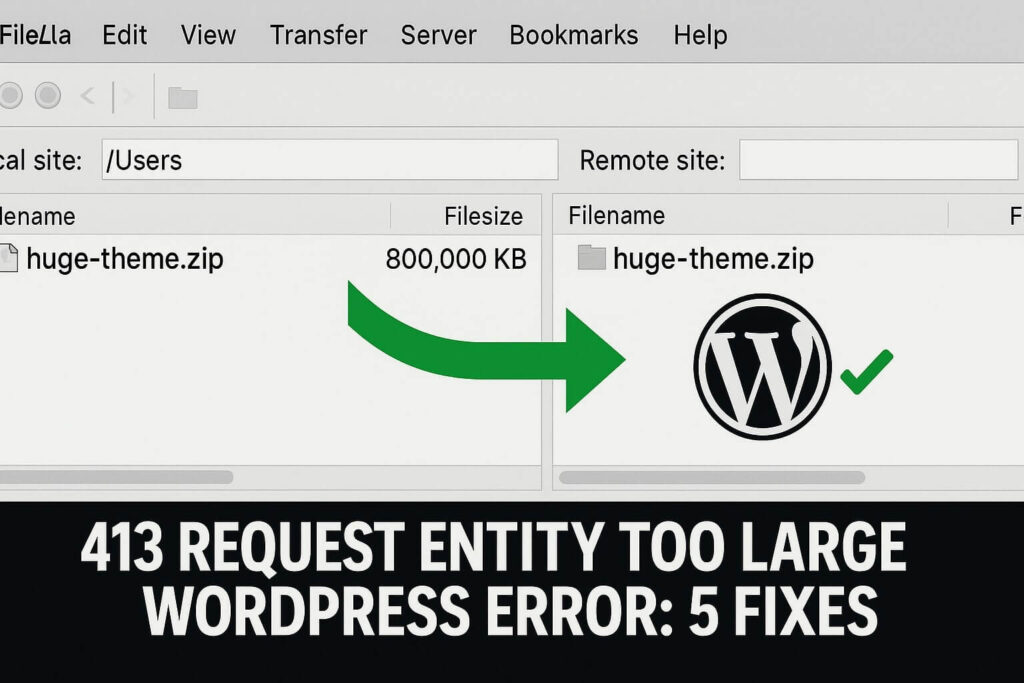
Method 4: FTP Bypass for 413 Request Entity Too Large WordPress
If you are in a rush, you can bypass the upload limits entirely by using FTP.
The error only happens during HTTP (browser) uploads. FTP has no such limits.
How to Bypass the Error:
-
Connect via FileZilla.
-
For Plugins: Unzip the plugin and drag the folder to
/wp-content/plugins/. -
For Themes: Unzip the theme and drag it to
/wp-content/themes/. -
Activate: Go to your dashboard and activate the new item.
This method completely avoids the server check because you aren’t using the browser uploader.
Method 5: PHP.ini Fix for 413 Request Entity Too Large WordPress
If the .htaccess method failed, you might have access to php.ini. This file controls PHP behavior and is a powerful way to fix the limit.
Step 1: Find or Create php.ini
In your File Manager (public_html), look for php.ini. If missing, create it.
Step 2: Add Configuration Code
Paste this snippet:
upload_max_filesize = 64M
post_max_size = 64M
max_execution_time = 300
Step 3: Verify
Save and check your upload screen. If the limit increased, you have solved the problem.
Conclusion on 413 Request Entity Too Large WordPress
This error looks scary, but it is simply a disagreement between your file size and your server’s rules. By using these methods, you can tell the server to accept your files.
Summary of Fixes:
-
Functions.php: Best for beginners.
-
.htaccess: Best for Apache users.
-
Nginx.conf: Required for VPS users.
-
FTP: The ultimate workaround.
Still Stuck? If you are still seeing the error, your host might have a hard-coded limit. 👉 Contact Us Here for a professional audit, or Order our Emergency Fix Service and we will resolve it today.