You likely need to increase PHP memory limit GoDaddy because your WordPress site just crashed with a fatal error. You were installing a new theme, activating a heavy plugin like Elementor, or simply uploading a large image when the screen turned white. A stark message appeared: “Fatal error: Allowed memory size of X bytes exhausted.”
This moment causes immediate panic. It feels like your server has broken. However, this is not a server crash; it is a safety limit.
By default, GoDaddy (and many shared hosts) sets a conservative memory limit—often 64MB or 128MB—to ensure one website doesn’t hog all the resources on a shared server. While this keeps the server stable, it is often insufficient for modern, feature-rich WordPress sites.
🚀 Need this fixed instantly? If you are uncomfortable editing server configuration files, Click here to order our Quick Fix Service. We will manually increase PHP memory limit GoDaddy settings and optimize your server performance within one hour.
In this extensive guide, we will break down exactly why this limit exists. Furthermore, we will provide you with 5 proven, step-by-step methods to safely raise this cap using your GoDaddy cPanel.
Why You Must Increase PHP Memory Limit GoDaddy
To fix the issue, you must understand what PHP memory actually does. Think of your server’s RAM (Random Access Memory) like a desk workspace. Every time a visitor loads a page, WordPress needs a certain amount of desk space to spread out its files, run scripts, and query the database.
If your “desk” is too small (e.g., 64MB), and you try to run a heavy plugin like WooCommerce, the script runs out of space and falls off the edge. This crash triggers the fatal error.
The process to increase PHP memory limit GoDaddy involves telling the server, “I need a bigger desk.” While GoDaddy allows you to increase this, they don’t always make the setting easy to find.
Common Symptoms of Low Memory
-
White Screen of Death: The site simply refuses to load.
-
Plugin Activation Failures: Clicking “Activate” causes a spin-out or crash.
-
Slow Backend: The WordPress admin dashboard feels sluggish and unresponsive.
-
Partial Loading: Images or stylesheets fail to load halfway down the page.
We will address these issues systematically, starting with the most reliable method: the configuration file.
Method 1: Edit wp-config.php to Increase PHP Memory Limit GoDaddy
In almost 90% of cases, the most direct way to increase PHP memory limit GoDaddy is by editing your WordPress configuration file. This file acts as the “brain” of your installation, instructing the site on how much resource power it is allowed to use.
You will need to access your files using the GoDaddy cPanel File Manager.
Step 1: Access GoDaddy cPanel
First, log in to your GoDaddy product page. Navigate to Web Hosting and click Manage next to your hosting plan. Then, click on the cPanel Admin button.
Step 2: Open File Manager
Next, find the Files section and click on File Manager. This opens a window showing all your website files.
Step 3: Locate wp-config.php
Now, navigate to the public_html folder (your root directory). Look for the file named wp-config.php.
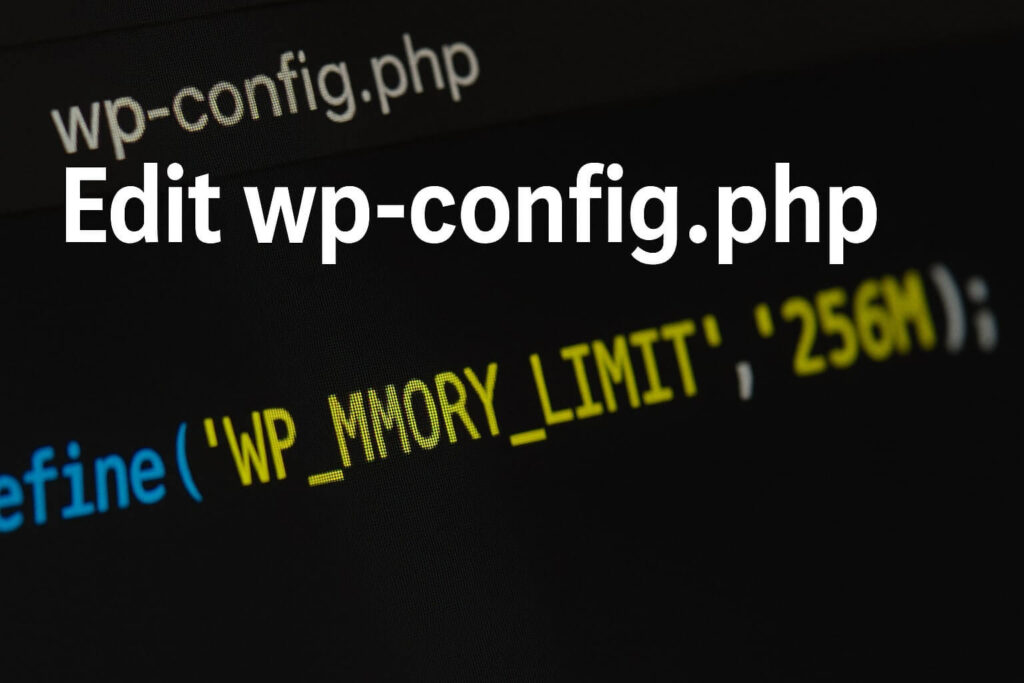
Step 4: Add the Memory Code
Right-click the file and select Edit. Scroll down until you find the line that says: /* That's all, stop editing! Happy publishing. */.
Paste the following code just before that line to fix the allocation shortage:
define( 'WP_MEMORY_LIMIT', '256M' );
Step 5: Save and Test
Finally, click Save Changes. Go back to your WordPress site and refresh the page.
If the error disappears, you have successfully managed to increase PHP memory limit GoDaddy.
Method 2: Use MultiPHP INI Editor to Increase PHP Memory Limit GoDaddy
If editing the wp-config.php file did not work, GoDaddy might have a hard limit set at the PHP configuration level. Fortunately, cPanel includes a built-in tool designed specifically to manage these settings without writing code.
Using the MultiPHP INI Editor is a safer, more user-friendly way to increase PHP memory limit GoDaddy.
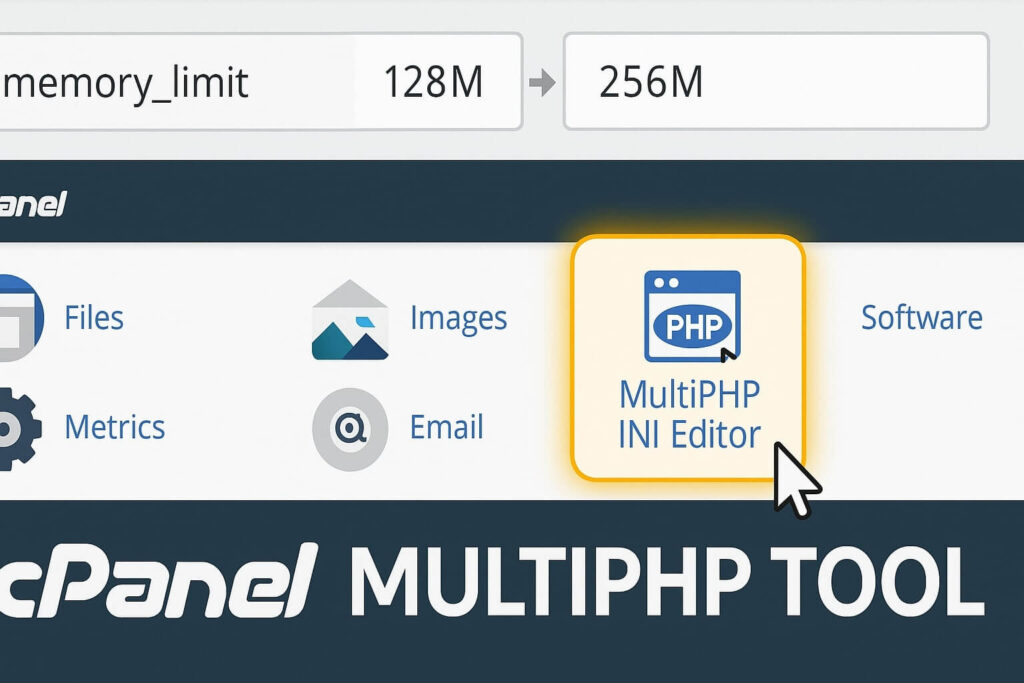
Step 1: Find the Editor
To begin, go back to your main cPanel dashboard. Scroll down to the Software section. Click on MultiPHP INI Editor.
Step 2: Select Your Location
A dropdown menu will appear asking for a location. Select your domain name (or the home directory) from the list.
Step 3: Adjust the Limit
You will see a list of PHP directives. Look for the row labeled memory_limit.
-
It likely shows
64Mor128M. -
Change this value to
256Mor512M.
Step 4: Apply Changes
Click Apply at the bottom of the page. This tool automatically writes the necessary code into a php.ini or .user.ini file for you.
This is often the most effective method because it overrides global server defaults instantly.
Method 3: Edit .htaccess to Increase PHP Memory Limit GoDaddy
Sometimes, the PHP editor method fails because the server configuration prioritizes Apache rules over PHP settings. In this scenario, editing the .htaccess file serves as a powerful alternative to increase PHP memory limit GoDaddy.
This file handles server directives before WordPress even loads.
Step 1: Locate .htaccess
Return to the File Manager in cPanel. Navigate to public_html.
-
Note: If you do not see the
.htaccessfile, click the Settings gear icon in the top right corner and ensure “Show Hidden Files (dotfiles)” is checked.
Step 2: Edit the File
Right-click on .htaccess and select Edit.
Step 3: Insert the Code
Scroll to the very bottom of the file. Paste the following line of code:
Apache
php_value memory_limit 256M
Step 4: Verify the Site
Save the changes and visit your website immediately.
-
If the site loads: You have fixed the error.
-
If you see a “500 Internal Server Error”: Your specific GoDaddy plan does not allow PHP values in
.htaccess. Delete the code you just added and proceed to Method 4.

Method 4: Create a php.ini File to Increase PHP Memory Limit GoDaddy
If the MultiPHP INI Editor (Method 2) was unavailable or didn’t save your changes, you can manually force the configuration by creating your own php.ini file. This manual override is a classic technique to increase PHP memory limit GoDaddy on older hosting plans.
Step 1: Create a New File
In File Manager, verify if a php.ini file already exists in public_html.
-
If yes: Edit it.
-
If no: Click + File in the top left corner. Name it
php.ini.
Step 2: Add Configuration Rules
Right-click your new file and select Edit. Paste the following code:
Ini, TOML
memory_limit = 256M
upload_max_filesize = 64M
post_max_size = 64M
max_execution_time = 300
Step 3: Save and Kill Processes
Click Save.
-
Crucial Step: Sometimes, GoDaddy processes act “sticky.” You might need to find a feature in cPanel called “Kill PHP Processes” (or “Select PHP Version” > “Reset”) to force the server to read the new file.
This method gives you granular control over all your PHP limits, not just memory.
Method 5: Upgrade Plan to Increase PHP Memory Limit GoDaddy
Sometimes, no matter what code you change, the limit stays stuck. You edit every file, yet the error persists.
This happens because you have hit the “Physical Memory” ceiling of your hosting plan. There is a difference between the PHP Memory Limit (software limit) and the Physical RAM (hardware limit) allocated to your account.
If you are on a basic “Economy” shared hosting plan, GoDaddy may restrict you to 512MB of physical RAM for the entire account. If you try to increase PHP memory limit GoDaddy via software to 512MB, but your account only has 512MB total, the server will kill the process to prevent stability issues.
How to Check
-
In cPanel, look at the sidebar labeled Statistics or Resource Usage.
-
Check “Physical Memory Usage”.
-
If the bar is red or constantly near 100%, software fixes will not work.
The Solution
You must contact GoDaddy support to upgrade your plan to a higher tier (like “Deluxe” or “Ultimate”) or move to Business Hosting. This provides the necessary hardware resources to support a higher software limit.
Checking Your Success
After applying any of these methods, you need to verify that you successfully managed to increase PHP memory limit GoDaddy.
-
Go to Dashboard: Log in to WordPress.
-
Navigate to Site Health: Go to Tools > Site Health.
-
Click Info: Switch to the Info tab.
-
Server Section: Click the dropdown arrow next to Server.
-
Check Limit: Look for the line “PHP memory limit”.
If it reads 256M (or your chosen value), you have succeeded!
Conclusion on Increasing GoDaddy Memory
The “Allowed memory size exhausted” error is annoying, but it is not a permanent roadblock. It is simply a configuration mismatch between your website’s needs and your server’s default settings.
By using wp-config.php, the MultiPHP INI Editor, or .htaccess, you can tell the server to allocate the resources your site deserves.
Summary of Methods:
-
wp-config.php: The standard WordPress override.
-
MultiPHP INI: The easy cPanel interface tool.
-
.htaccess: The server-level directive.
-
php.ini: The manual configuration file.
-
Upgrade: Solving hardware bottlenecks.
Still Stuck? If you tried all these methods to increase PHP memory limit GoDaddy and still see errors, you might have a rogue plugin leaking memory. 👉 Contact Us Here for a professional performance audit, or Order our Emergency Fix Service to get your site stabilized today.