You need a reliable orange border fix for Contact Form 7 because your legitimate messages are currently being blocked. You likely filled out a test form on your website, clicked “Submit,” and expected a green success message. Instead, a box with a bright orange outline appeared, displaying the message: “There was an error trying to send your message. Please try again later.”
This moment causes confusion for many site owners. For instance, the form didn’t crash (which would be Red), and you didn’t miss a field (Yellow). Consequently, what does the orange box mean?
It means your own website thinks you are a spam robot.
The orange border indicates that a spam protection module—like reCAPTCHA or Akismet—has flagged the submission as suspicious. While this protects you from bots, it becomes a disaster when it blocks real customers.
🚀 Need this fixed instantly? If you are losing leads because your form is blocking real humans, Click here to order our Quick Fix Service. We will apply the orange border fix and calibrate your spam filters within one hour.
In this extensive guide, we will break down why these false positives happen. Furthermore, we will provide 5 proven methods to lower the sensitivity of your filters.

Understanding the Need for an Orange Border Fix
To apply the correct solution, you must first understand how Contact Form 7 (CF7) categorizes errors. The plugin uses a color-coded system to tell you exactly what went wrong.
Green: Success.
Yellow: Validation error.
Red: Server error.
Orange: Spam rejection.
When you see the orange warning, the email sending function works. However, a “gatekeeper” script intercepted the message before it could leave the server.
Common Triggers
reCAPTCHA v3 Sensitivity: Google’s invisible captcha assigns a low “score” to the user.
Akismet Conflicts: The anti-spam plugin disapproved of your content.
Caching Issues: Old security tokens are being served.
Theme Conflicts: Scripts interfering with verification.
We will address these issues systematically.
Method 1: reCAPTCHA Adjustment for Orange Border Fix
In approximately 80% of cases, the best orange border fix involves tweaking Google reCAPTCHA v3. Unlike v2 (the checkbox), v3 works invisibly. It observes user behavior and assigns a score.
If you are testing your own site repeatedly, reCAPTCHA often flags you as a bot because your behavior looks suspicious.
Step 1: Check Your Integration
First, log in to your WordPress Dashboard.
Next, navigate to Contact > Integration.
Finally, ensure reCAPTCHA is set to “Active.”
Step 2: Refresh the Keys
Sometimes, the API keys stop communicating correctly.
Go to the Google reCAPTCHA Admin Console.
Then, register a new property using reCAPTCHA v3.
Copy the new Site Key and Secret Key.
Back in WordPress, setup the integration again with these new keys.
Step 3: Clear Browser Data
Clear your cookies or open an Incognito Window. Subsequently, try submitting the form again. If it goes through, the issue was simply a strict score assigned to your browser session.
[Image: recaptcha-v3-settings-fix-orange-border.jpg] Alt Text: Updating Google reCAPTCHA v3 keys to apply the orange border fix.
Method 2: Use Akismet Configuration for an Orange Border Fix
If reCAPTCHA is not the problem, adjusting Akismet is the next logical step. Akismet is a powerful anti-spam tool, but it can be aggressive.
For example, if you use “test” content (like “lorem ipsum” or “test message”) in your form fields, Akismet will almost certainly flag it as spam.
Step 1: Temporarily Deactivate Akismet
To confirm if this is the cause:
Go to Plugins > Installed Plugins.
Then, deactivate Akismet Anti-Spam.
Return to your form and try to submit it.
If the submission works, Akismet was definitely blocking you.
Step 2: Adjust Configuration
However, you do not have to delete Akismet permanently. Instead, ensure you are testing with “real” data. Do not type “test” in the name or subject fields.
Step 3: Review Configuration
If you added Akismet tags to your form code (e.g., akismet:author_email), verify they are applied to the correct fields.
Method 3: Clear Cache for Orange Border Fix
Caching plugins are fantastic for speed. On the other hand, they are notorious for breaking dynamic features. Clearing your cache is often the simplest orange border fix.
CF7 uses a “nonce” (security token) to verify the submission. If your caching plugin (like WP Rocket) serves an “expired” page, the nonce will be invalid, triggering the error.
Step 1: Clear All Caches
Click “Purge All” or “Clear Cache” in your WordPress admin bar. Immediately retest the form.
Step 2: Exclude the Contact Page
For a permanent solution, you should verify settings:
Go to your caching plugin settings.
Next, find the “Never Cache URL(s)” section.
Enter the URL of your contact page (e.g.,
/contact-us/).Finally, save changes.

Method 4: Install a Honeypot as an Orange Border Fix
If reCAPTCHA v3 blocks too many real users, switching to a “Honeypot” strategy is an excellent alternative solution.
A Honeypot is a hidden field that human users cannot see, but bots will fill out. Consequently, if the field contains text, CF7 blocks it. This generates fewer false positives than AI scoring.
Step 1: Install Plugin
Go to Plugins > Add New.
Search for “Honeypot for Contact Form 7”.
Install and Activate the plugin.
Step 2: Edit Your Form
Go to Contact > Contact Forms.
Edit your form.
Click the “Honeypot” button in the tag generator.
Then, insert the tag (e.g.,
[honeypot phone-number-check]) anywhere in your form.
Step 3: Remove reCAPTCHA (Optional)
If the Honeypot works, you can remove reCAPTCHA. As a result, you eliminate the frustration completely.
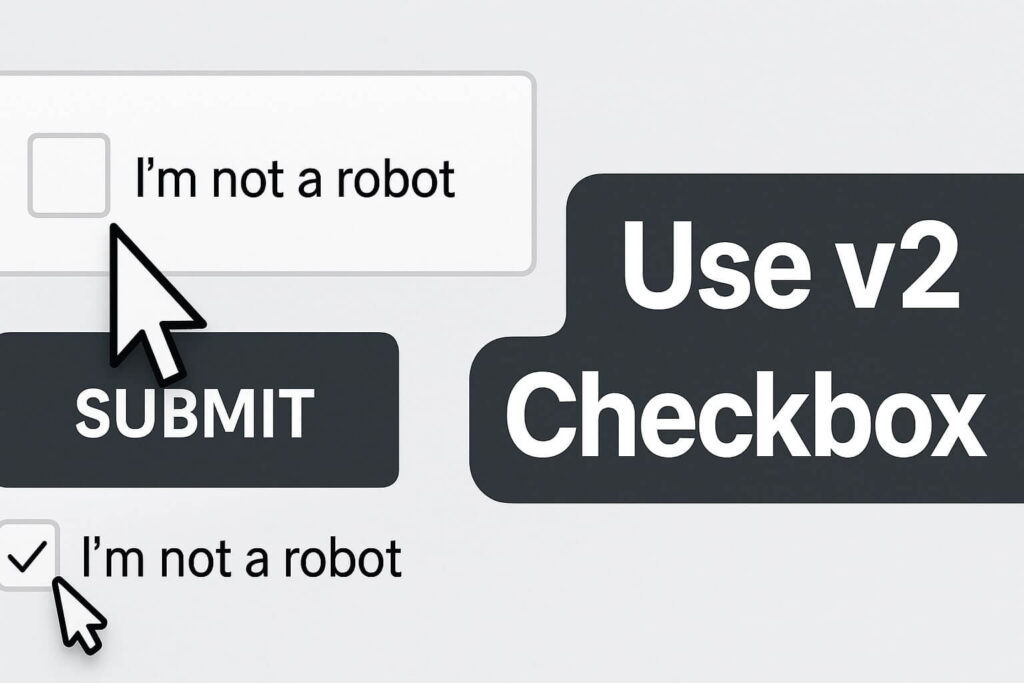
Method 5: Fallback to reCAPTCHA v2 for Orange Border Fix
If v3 is causing persistent issues, downgrading to reCAPTCHA v2 (the “I’m not a robot” checkbox) is a reliable workaround.
While v2 adds an extra step, it is much clearer. Specifically, if a user fails the check, they are asked to click images, rather than being silently blocked.
Step 1: Register v2 Keys
Go back to the Google Admin Console. There, create a new property for reCAPTCHA v2 (Checkbox).
Step 2: Use a Plugin Extension
To use v2 easily with modern CF7, install an extension like “ReCaptcha v2 for Contact Form 7”.
Install the extension.
Go to Contact > Integration.
Select “v2” and enter your new keys.
Step 3: Update Form Code
Add the [recaptcha] tag to your form content. This ensures users know when they are being tested, removing the mystery of the spam error.
Conclusion on the Orange Border Fix
The orange border is not a broken website; it is an over-zealous security guard. Therefore, by adjusting your reCAPTCHA sensitivity, managing your cache, or switching to a Honeypot, you can ensure that legitimate inquiries always get a Green success message.
Summary of Fixes:
reCAPTCHA v3: Refresh keys or use Incognito.
Akismet: Test with real content.
Cache: Exclude contact page.
Honeypot: Use hidden fields.
Fallback: Switch to v2.
Still Seeing Orange? If you have tried all 5 methods and still need an orange border fix, you might have a JavaScript conflict. 👉 [Contact Us Here] for a professional audit, or Order our Emergency Fix Service to get your contact forms working perfectly today.