Encountering the elementor 500 error server message while trying to save your work is a nightmare for any web designer. You have spent hours perfecting a landing page, tweaking margins, and adjusting typography. You finally click the green “Update” button, expecting a success message. Instead, a red bar appears at the bottom of the screen saying “Server Error (500).”
Suddenly, your progress is trapped inside the editor. If you refresh the page, you lose your work. If you try to exit, the changes vanish.
Unlike a specific error message that tells you exactly what went wrong, this warning is generic. It simply means the server threw its hands up and refused to process the request.
🚀 Need this fixed instantly? If you are afraid of losing your unsaved work or editing backend files, Click here to order our Quick Fix Service. We can resolve the elementor 500 error server issue and save your page content within one hour.
In this extensive guide, we will troubleshoot this frustration. Furthermore, we will provide you with 5 proven methods to fix the error, save your work, and prevent it from happening again.
Why the Elementor 500 Error Server Issue Happens
To fix the issue, you must understand why your server is rejecting your save request. Elementor is a resource-intensive page builder. It performs complex operations every time you click “Update.”
The elementor 500 error server message usually triggers because the server ran out of resources while trying to process your request.
Common Triggers
Memory Exhaustion: This is the #1 cause. Your WordPress memory limit is too low.
Execution Timeout: The server took too long to process the save request.
Plugin Conflicts: Another plugin interfered with the save script.
Corrupted Database: The database refused to accept the new data entry.
We will address these issues systematically, starting with the most common culprit: memory.

Method 1: Increase Memory to Fix Elementor 500 Error Server
In almost 90% of cases, this crash happens because your PHP memory limit is set too low. By default, many hosting providers set this to 64MB or 128MB. Elementor, however, recommends at least 256MB, and preferably 512MB for smooth performance.
You can increase this limit manually by editing the wp-config.php file. You can use a tool like FileZilla to access your files.
Step 1: Connect to Your Server
First, open your FTP client or the File Manager in your hosting cPanel. You need direct access to your WordPress files.
Step 2: Locate wp-config.php
Next, navigate to the public_html folder (your root directory). Look for the file named wp-config.php.
Step 3: Add the Memory Code
Now, right-click the file and select Edit. Scroll down until you find the line that says: /* That's all, stop editing! Happy publishing. */.
Paste the following code just before that line to fix the allocation issue:
define( 'WP_MEMORY_LIMIT', '512M' );
Step 4: Save and Test
Finally, save the file and upload it back to the server. Go back to your Elementor editor and try clicking “Update” again.
If the error disappears and the “Update” button turns gray (saved), you have successfully resolved the issue.
Method 2: Check Plugin Conflicts Causing Elementor 500 Error Server
If increasing the memory did not work, a “Plugin Conflict” is the next likely suspect. Sometimes, a caching plugin, a security tool, or an outdated addon creates a script error during the save process, resulting in the elementor 500 error server crash.
Diagnosing this requires a process of elimination.
Step 1: Open a New Tab
Do not close your Elementor editor tab (you don’t want to lose your work). Open a new browser tab and log in to your WordPress Dashboard.
Step 2: Deactivate Plugins
Navigate to Plugins > Installed Plugins.
Select all plugins except Elementor and Elementor Pro.
Choose Deactivate from the bulk actions menu.
Click Apply.
Step 3: Retry Saving
Go back to your Elementor editor tab. Click “Update.”
If it saves: One of your plugins was causing the crash.
If it fails: The issue lies elsewhere (proceed to Method 3).
If it worked, go back to your plugins list and reactivate them one by one. After each activation, try to save your page. When the error returns, the last plugin you activated is the culprit.
Method 3: Increase Execution Time for Elementor 500 Error Server
Sometimes, the server has enough memory, but it doesn’t have enough time. Saving a large, complex Elementor page involves writing a lot of code to the database. If your server has a short “Max Execution Time” (e.g., 30 seconds), it might cut the connection before the save is complete, triggering the elementor 500 error server warning.
You can increase this time limit using the .htaccess file.
Step 1: Locate .htaccess
Connect to your server via FTP. Look for the .htaccess file in your root directory.
Note: If you cannot see it, ensure “Show Hidden Files” is enabled in your file manager settings.
Step 2: Edit the File
Right-click and edit the file. Scroll to the bottom and paste the following code:
php_value max_execution_time 300
This tells the server to wait up to 300 seconds (5 minutes) before timing out.

Step 3: Verify the Fix
Return to Elementor and try to save. If the timeout was the cause, this adjustment will resolve the internal server failure.
Method 4: Enable Debug Mode to Analyze Elementor 500 Error Server
If you are still seeing the error, you need to stop guessing and start reading the logs. The “500 Error” is a generic mask. By enabling debugging, you can force WordPress to reveal the real error message hidden behind that mask. You can read more about debugging on the official WordPress Debugging page.
Step 1: Edit wp-config.php Again
Open your wp-config.php file via FTP.
Step 2: Enable Debugging
Find the line define( 'WP_DEBUG', false );. Change it to true and add the logging command:
define( 'WP_DEBUG', true );
define( 'WP_DEBUG_LOG', true );
define( 'WP_DEBUG_DISPLAY', false );
Step 3: Trigger the Error
Go to Elementor and click “Update” to trigger the elementor 500 error server message again.
Step 4: Check the Log
Navigate to the wp-content folder on your server. You should see a file named debug.log. Download and open it.
The log will list the exact script that crashed. It might say something like “Fatal error: Out of memory” (confirming Method 1 is needed) or point to a specific file in a plugin folder (confirming Method 2).
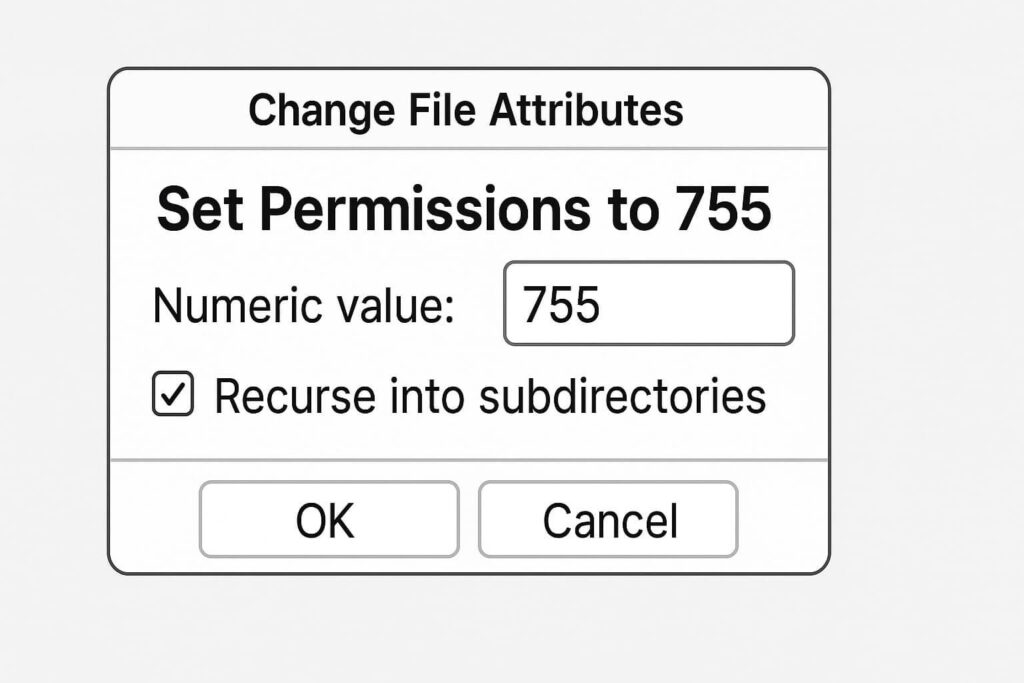
Method 5: Check File Permissions for Elementor 500 Error Server
In rare cases, this failure is caused by incorrect file permissions. If the server does not have permission to write to your JSON files or CSS files, the save will fail.
Correct Permission Standards:
Folders: 755
Files: 644
How to Check via FTP:
Right-click on your
wp-contentfolder.Select File Permissions.
Ensure the value is 755.
Check “Recurse into subdirectories” and “Apply to directories only.”
If your permissions were set to something restrictive, resetting them allows Elementor to write the necessary files, fixing the elementor 500 error server glitch.
Conclusion on the Elementor 500 Error Server Issue
The “500 Server Error” is intimidating because it interrupts your creative flow and threatens data loss. However, it is almost always a resource issue that you can fix by editing a simple configuration file.
By systematically increasing memory, checking for conflicts, and adjusting timeouts, you can banish the elementor 500 error server message for good.
Summary of Fixes:
Memory: Increase to 512MB in wp-config.php.
Plugins: Deactivate addons to find conflicts.
Timeout: Increase execution time in .htaccess.
Debug: Use logs to find the specific crash.
Permissions: Ensure folders are set to 755.
Still Stuck? If you have tried all 5 methods and still cannot save your page, the issue might be a deeper server-side restriction enforced by your host. 👉 Contact Us Here for a professional audit, or visit our WordPress Maintenance Services page to get your Elementor editor working perfectly today.