You need to increase upload size WordPress limits immediately because your website just rejected a critical file. You likely tried to upload a high-quality video background, a large PDF brochure, or a complex theme file, only to face the frustrating error: “Exceeded the maximum upload size for this site.”
This moment halts your workflow completely. By default, many hosting providers set a “safety cap” on file uploads—often as low as 2MB or 8MB. While this saves server resources, it prevents you from building a modern, media-rich website.
Most tutorials suggest installing a plugin to fix this. However, installing a heavy plugin just to change one simple text setting adds unnecessary “bloat” to your database. It slows down your load times and introduces potential security vulnerabilities.
Therefore, the professional solution involves manual configuration. In this guide, we will show you exactly how to adjust these server limits without relying on third-party plugins.
🚀 Need this fixed instantly? If you feel uncomfortable editing server code files like
.htaccessorphp.ini, Click here to order our Quick Fix Service. We will manually increase upload size WordPress limits and optimize your server configuration within one hour.
In this extensive guide, we will cover 5 proven methods to override these limits using code, ensuring your site stays fast, lean, and plugin-free.
Why You Should Increase Upload Size WordPress Manually
Before we dive into the code, you must understand why we avoid plugins for this specific task. Why go through the trouble to adjust these settings manually?
When you use a plugin to adjust limits, that tool effectively just writes a few lines of code into your server files for you. However, it also loads its own scripts, CSS, and database queries every time your site loads.
Consequently, relying on plugins for simple tasks creates “technical debt.” The more plugins you have, the slower your site becomes. By learning to increase upload size WordPress via server files, you keep your dashboard clean and your performance scores high.
Understanding the Server Limits
Your WordPress site runs on PHP, a server-side programming language. PHP has three main configuration directives that control file handling. To successfully boost your file capacity, we must adjust:
upload_max_filesize: The maximum size of a single file.
post_max_size: The maximum size of the entire data packet sent to the server (must be larger than the upload size).
max_execution_time: How long the server waits for the upload to finish before giving up.
We will manipulate these three settings in the following methods.
Method 1: Use .htaccess to Increase Upload Size WordPress
For most websites running on shared hosting (like Bluehost, HostGator, or SiteGround), the .htaccess file controls server behavior. This hidden file sits in your website’s root directory and offers the most reliable way to override the default cap.
This method works for servers running on Apache.
Step 1: Connect to Your Server
First, you need to access your files. You can use an FTP client like FileZilla or the File Manager inside your hosting cPanel.
Step 2: Locate the .htaccess File
Next, navigate to the public_html folder. Look for a file named .htaccess.
Note: If you cannot see it, look for a “Settings” gear icon in your File Manager and ensure “Show Hidden Files” is checked.
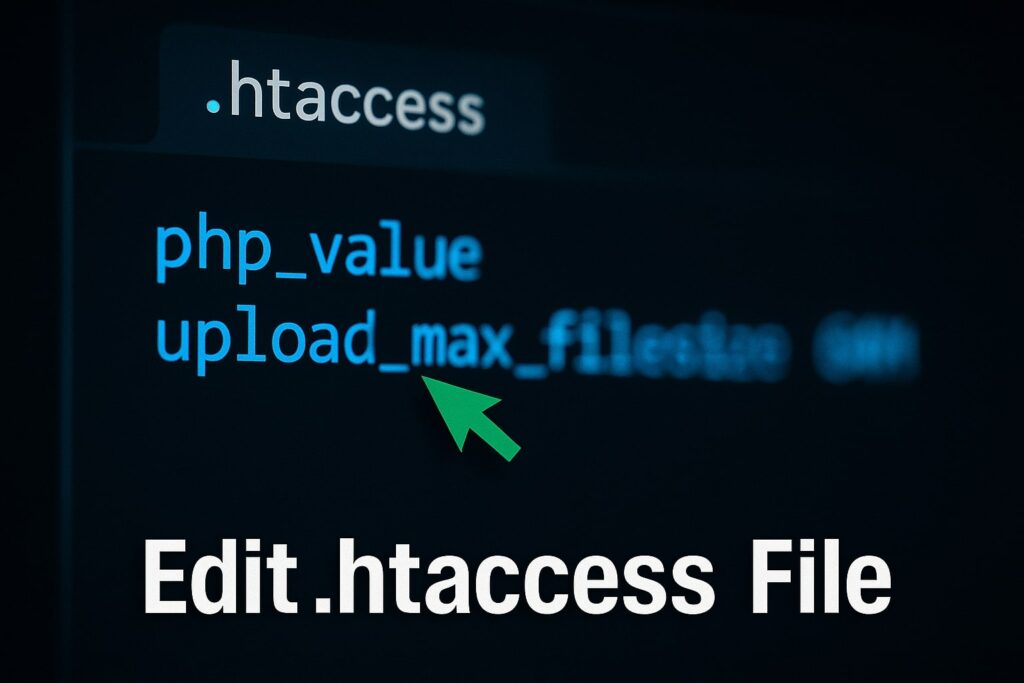
Step 3: Edit the Code
Now, right-click the file and select Edit. Scroll to the very bottom of the file (after the line # END WordPress) and paste the following code snippets to boost the limit:
Apache
php_value upload_max_filesize 64M
php_value post_max_size 64M
php_value max_execution_time 300
php_value max_input_time 300
Step 4: Save and Test
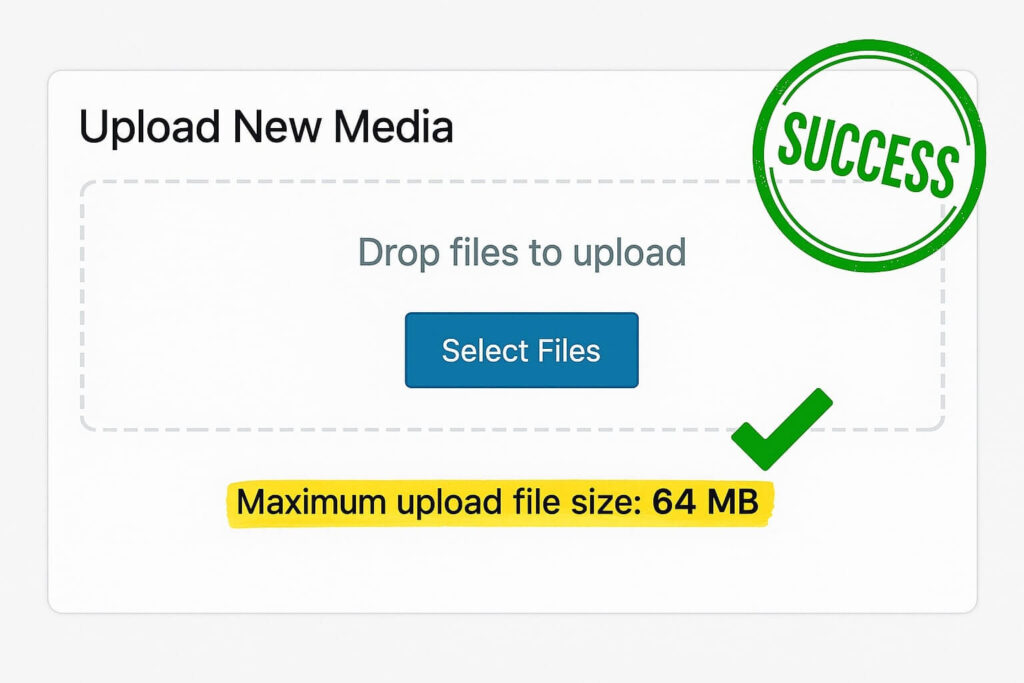
Finally, save the changes. Go back to your WordPress Dashboard, navigate to Media > Add New, and verify that the limit listed at the bottom now says “64 MB”.
You have successfully used .htaccess to increase upload size WordPress settings.
Method 2: Edit php.ini to Increase Upload Size WordPress
If the .htaccess method did not work, or if your host does not allow PHP values in that file, you must use the php.ini file. This is the default configuration file for PHP settings.
This method is powerful and often preferred by developers to adjust file limits globally across the server.
Step 1: Find the php.ini File
Connect via FTP or File Manager. Look in your public_html folder for a file named php.ini.
Note: On some shared hosting plans, this file might not exist. If it is missing, simply create a new file, name it
php.ini, and upload it to your root folder.
Step 2: Add Configuration Directives
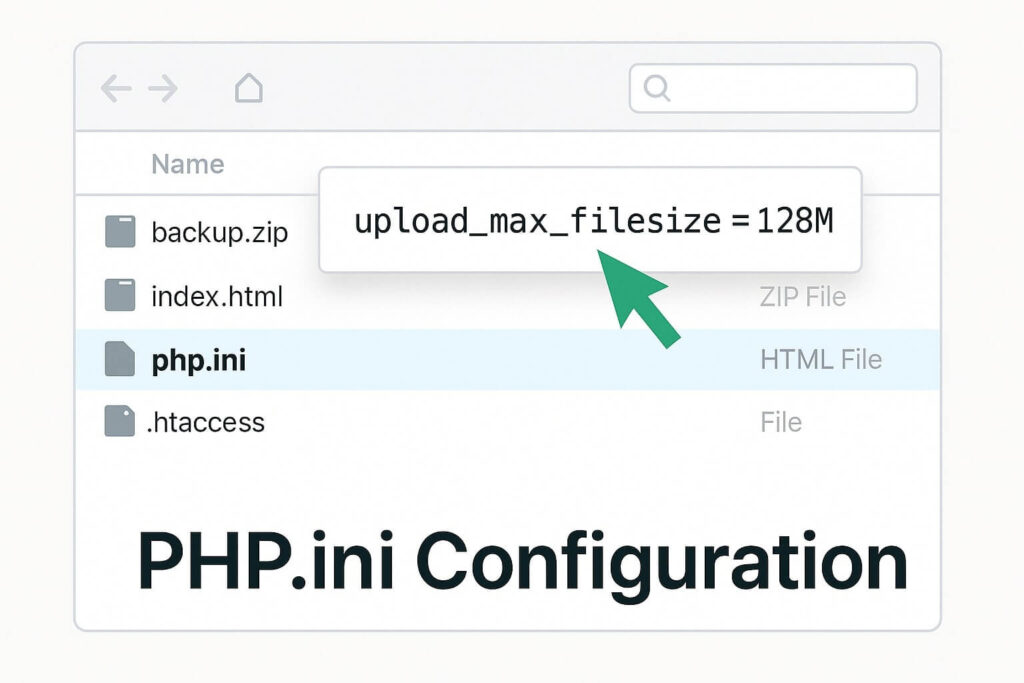
Open the file for editing. Paste the following lines of code. If the file already has code, simply modify the existing values to match your desired capacity:
Ini, TOML
upload_max_filesize = 128M
post_max_size = 128M
max_execution_time = 300
Step 3: Save and Verify
Save the file. On some hosts, you might need to “Kill PHP Processes” in cPanel for the changes to take effect immediately. Once done, check your Media Library.
This offers a clean, server-level way to increase upload size WordPress capabilities.
Method 3: Use Theme Functions to Increase Upload Size WordPress
If you feel uncomfortable editing server configuration files, you can try adding instructions directly to your WordPress theme. While not as robust as the first two methods, it often works for minor adjustments.
This approach allows you to change the limit by utilizing the functions.php file.
Step 1: Access Theme File Editor
Log in to your WordPress Dashboard. Navigate to Appearance > Theme File Editor.
Step 2: Locate functions.php
On the right-hand sidebar, find the file labeled Theme Functions (functions.php). Click to open it.
Step 3: Insert the PHP Code
Scroll to the bottom of the file. Paste the following code to force the system to accept larger files:
@ini_set( 'upload_max_filesize' , '64M' );
@ini_set( 'post_max_size', '64M');
@ini_set( 'max_execution_time', '300' );
Step 4: Update File
Click Update File. Check your Media Library upload screen.
Warning: If you update your theme in the future, these changes will be overwritten. Therefore, using a Child Theme or Method 1/2 is generally safer. However, this remains a valid way to increase upload size WordPress limits temporarily.
Method 4: Nginx Config to Increase Upload Size WordPress
If you host your site on a VPS (Virtual Private Server) or a managed host like Cloudways or Kinsta, you likely use Nginx instead of Apache. Nginx does not use .htaccess files.
Consequently, the previous methods might fail. You must edit the nginx.conf file to change these parameters on high-performance servers.
Note: This requires SSH or Root access.
Step 1: Locate nginx.conf
Connect to your server via Terminal (SSH). Navigate to /etc/nginx/nginx.conf (or /etc/nginx/conf.d/default.conf).
Step 2: Edit the HTTP Block
Open the file and find the http { or server { block. Add the following line to override the default cap:
Nginx
client_max_body_size 64M;
Step 3: Restart Nginx
For the changes to apply, you must restart the server. Run the command: sudo service nginx reload
This is the definitive way to increase upload size WordPress parameters for Nginx users.
Method 5: Contact Hosting to Increase Upload Size WordPress
Sometimes, no matter what code you change, the limit stays stuck at 2MB or 8MB.
This happens because some shared hosting providers “hard code” these limits at the master server level. Consequently, your local files cannot override them. In this scenario, the only way to fix the issue is to ask for help.
Sample Support Ticket
Copy and paste this message to your hosting support:
“Hello Support, I need to increase upload size WordPress limits for my site. I have attempted to edit my .htaccess and php.ini files, but the limit remains stuck. Could you please increase my
upload_max_filesizeandpost_max_sizeto 128MB? Thank you.”
Most support teams will perform this change for you within minutes.
Checking Your Success After You Increase Upload Size WordPress
After applying any of these methods, you need to verify that you successfully managed to override the restrictions.
Go to Dashboard: Log in to WordPress.
Navigate to Media: Click Media > Add New.
Look at the Bottom: Under the “Drop files to upload” box, you will see a text line saying: “Maximum upload file size: 64 MB” (or whatever value you set).
If this number has changed from the default (usually 2MB), you have succeeded!
Conclusion on Manual Upload Limits
The “Exceeded maximum upload size” error is annoying, but it is not a permanent roadblock. It is simply a server setting designed to save resources.
By using .htaccess, php.ini, or functions.php, you can tell the server to accept larger files. Furthermore, avoiding plugins for this task keeps your database clean and your site fast.
Summary of Methods:
.htaccess: The best method for shared hosting.
php.ini: The preferred method for developers.
Functions.php: A quick, theme-level fix.
Nginx.conf: Required for VPS users.
Support: The final fallback.
Still Stuck? If you tried all these methods to increase upload size WordPress limits and still see errors, you might have a deeper configuration conflict. 👉 Contact Us Here for a professional server audit, or Order our Emergency Fix Service to get your upload limits resolved today.